How to Create Engaging Video Collages with InShot Pro?
October 30, 2024 (11 months ago)

InShot Pro is available on both Android and iOS devices. The app is easy to use. It lets you edit videos, add music, and create collages. You can make your videos look professional with just a few taps.
Why Make a Video College?
Video collages are great for many reasons. Here are a few:
- Show Memories: You can share special moments from a birthday party, a trip, or a family gathering.
- Creativity: You can express your creativity by mixing different clips and images.
- Fun to Share: Video collages are fun to show your friends and family. They are also great for social media!
Getting Started with InShot Pro
To make a video collage, you first need to download InShot Pro. Follow these steps:
-
Download the App:
Go to the App Store (iOS) or Google Play Store (Android).
Search for "InShot Pro."
Download and install the app.
-
Open InShot Pro:
Tap on the InShot Pro icon to open the app.
-
Choose Your Project:
When you open the app, you will see several options. Tap on "New Project" to start.
Creating Your Video Collage
Now that you have the app ready, let’s create your video collage!
Step 1: Select Your Media
- Choose Videos and Photos:
You will see a library of your videos and photos.
Tap on the videos and photos you want to use for your collage.
You can select multiple files at once.
Once you have selected, tap the checkmark (✓) to continue.
Step 2: Arrange Your Clips
-
Drag and Drop:
After selecting your media, you will see them on the timeline.
You can arrange them by dragging and dropping them into the order you like.
-
Trim Clips:
If some videos are too long, you can trim them.
Tap on the video clip and select the "Trim" option.
Move the sliders to shorten your video.
Step 3: Choose a Layout
- Find Layout Options:
InShot Pro offers different layouts for collages.
Tap on "Collage" from the bottom menu.
You will see many styles. Choose one that fits your vision.
- Adjust Your Clips:
After selecting a layout, you can adjust how your clips fit.
You can resize and move them around until you like the look.
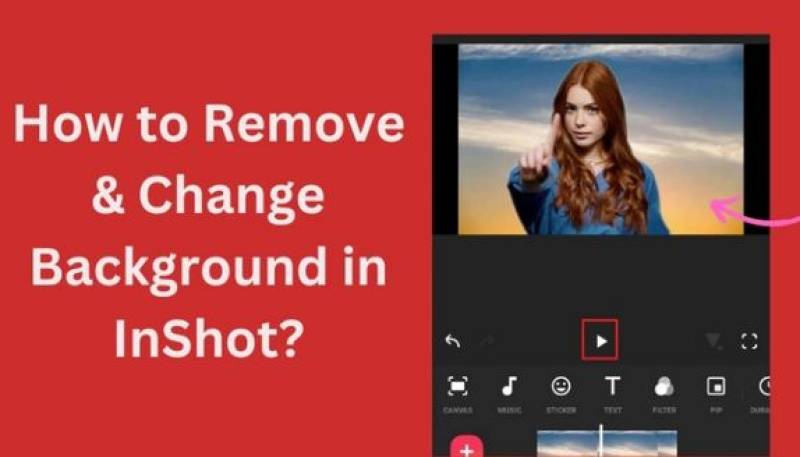
Step 4: Add Background
- Select a Background:
You can add a background to make your collage pop.
Tap on "Background" in the bottom menu.
You can choose a solid color or a pattern.
- Adjust the Color:
Pick a color that matches your videos.
You can also adjust the brightness and opacity of the background.
Step 5: Add Music
- Choose a Soundtrack:
Music can make your video more engaging.
Tap on the "Music" option in the bottom menu.
- Select a Song:
You can choose a song from the app or upload your own.
Search for the song you want and tap on it.
- Adjust Music:
You can trim the music to fit your video.
Tap on the music track and use the trim tool.
Step 6: Add Text and Stickers
- Insert Text:
Tap on "Text" in the bottom menu.
Type a message you want to show in your collage.
- Customize Text:
You can change the font, size, and color.
Move the text to where you want it on the screen.
- Add Stickers:
You can also add stickers to make your video more fun.
Tap on "Stickers" and choose from the available options.
Step 7: Preview Your Collage
- Watch Your Video:
Before saving, watch your video.
Tap the play button to see how it looks.
- Make Changes:
If you want to change something, go back and edit it.
You can adjust the layout, clips, music, and more.
Step 8: Save Your Collage
- Save Your Work:
When you are happy with your college, it’s time to save it.
Tap on the "Save" button in the top right corner.
- Choose Quality:
Select the video quality. Higher quality looks better but takes more space.
After selecting, tap on "Save."
- Share Your Collage:
You can share your college directly to social media or send it to friends.
Choose the platform you want to share it on.
Tips for a Great Video Collage
Use High-Quality Clips: Use clear and bright videos and images.
Keep It Short: Try not to make your collage too long. Shorter videos keep people interested.
Be Creative: Mix different styles, colors, and music to make it unique.
Tell a Story: Arrange your clips in a way that tells a story or shares a theme.
Recommended For You


